The Fuselage (Page 1 of 5)
Journal Cover Page Page 2 Page 3 Page 4 Page 5
(To navigate the photo journal, click on the tabs on the right and the links at the top or bottom of this page.)
The Kit |
|
| Here is most of fuselage kit laid out on the table after a four-hour inventory. | 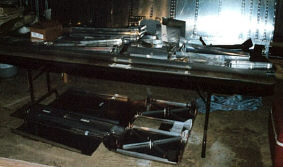 |
Bulk Heads |
|
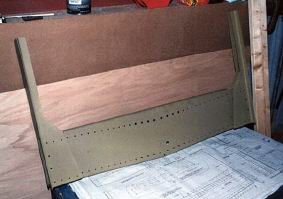 |
This is the wing root bulk head. Even though it is part of the fuselage, it actually came with the wing kit, because it has to be match drilled with the wing spar parts at the factory. |
| Building the fuselage consists of fabricating the bulk heads, putting the basic structure in the fuselage jig, and attaching the skins. Here, I'm drilling the most forward bulkhead, the firewall. It comes with most of the parts clamped together. The builder has to finish drilling the parts and then rivet them together. | 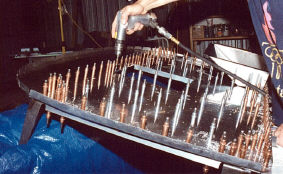 |
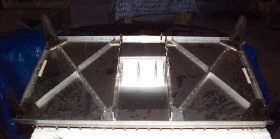 |
In this picture, you can see the firewall recess box. The firewall and this box are both stainless steel. All holes and joints are sealed with high temperature silicon sealant so that no fumes can transgress from the engine compartment to the cabin. |
| I just couldn't help getting a head a little to work on the control column. These are the flight control sticks mounted on the wing root bulk head. | 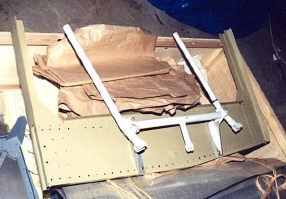 |
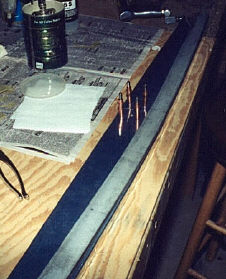 |
This is the bottom part of the seat back bulk head. It's hard to imagine at this point where it fits into the big picture. Oh well, I'll get there some day. |
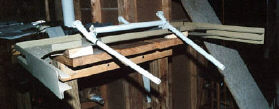
| The wing spar bulkhead flange has to be trimmed to allow the control sticks full range of travel. A Dremel® Tool does the job nicely. | 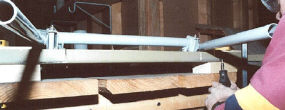 |
| Here is a closer view. | 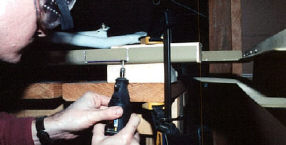 |
 |
And, this is the final result. |
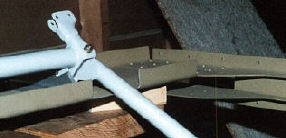 |
Just imagine the left position stick all the way forward. |
| Now back to the Seat back bulkhead, F605. Laying out the rivet holes for the reinforcing bar is tricky. You want to line up with some ribs and avoid others. Also, you have to use some flush rivets. Be careful! | 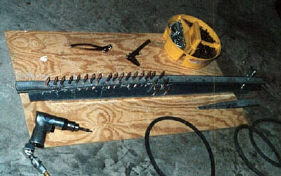 |
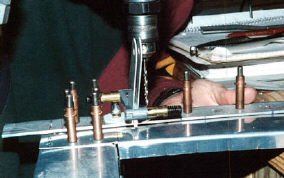 |
Here is a shot of drilling the seat belt attach brackets to the bulk head bottom. This is one of the reasons you need the reinforcing bar. Another is that the rear wing spars will bolt to this bar. |
| The baggage compartment bulkhead, F606 has to be layed out on a flat surface. I used a piece of scrap hardboard. After measuring and drawing some reference lines on the hardboard to get the F606 parts lined up correctly, I taped the parts down to prepare of drilling. | 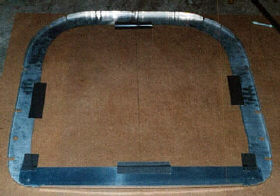 |
 |
|
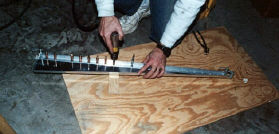
| This shot shows the bottom corners of the bulkhead drilled and riveted together and the baggage floor support angle partially drilled and riveted in place. | |
 |
This is the F628 vertical rib that goes behind the baggage bulkhead. I'm drilling the support angle to it. Notice the space on the left for the bolt hole for the elevator push rod bell crank. |
| Here is where the F628, vertical rib, and the F629, horizontal rib, attach to the bottom of the baggage bulkhead. The reinforcing plate is in place but the square hole has yet to be cut for the elevator push rod. | 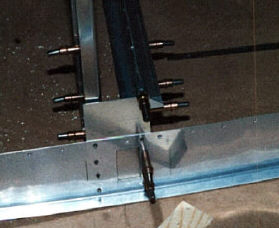 |
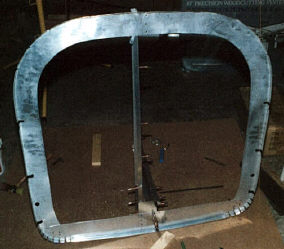 |
This is the front side of the F606 bulkhead clamped together. |
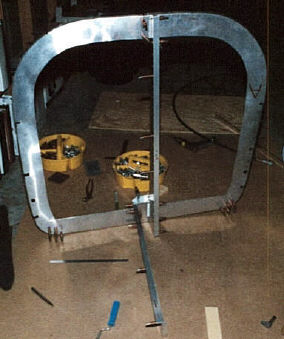 |
And, this is the view from the back in which the F628 and F629 ribs are visible. |
| These are the plastic bushing blocks for the flap actuator sitting on the Frank Justice supplemental instructions. Thanks Frank. I took his advice and drilled these blocks to the F605, seat back bulkhead before placing the bulkheads on the fuselage jig. The builder has to cut one of them in half. I used the band saw and did it free hand. It doesn't really matter how straight the cut is. | 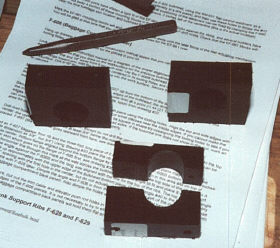 |
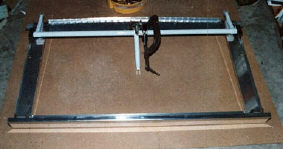 |
Clamping the center bushing block over the flap actuator holds it in the right position so the lateral bushing blocks can be drilled to the sides of the bulkhead. |
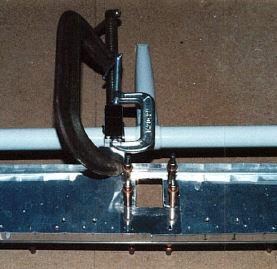 |
I figured out how many thicknesses of skin would be between the bushing block and the bottom of the bulkhead and shimmed it up by that much. |
| There isn't much to do to most of the rest of the bulkheads aft of the baggage compartment, until you get to the F611/F612 bulkhead. | 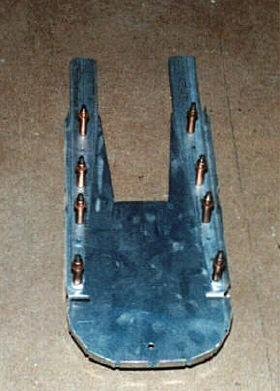 |
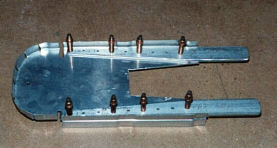 |
The reinforcing bars are cut and tapered and then drilled to the bulkhead halves. This is where the horizontal stabilizer will bolt onto the fuselage. |
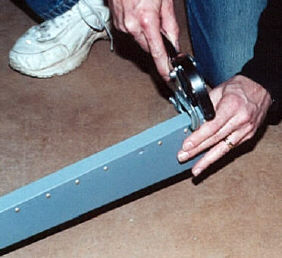
| One of the aft bulkheads needs a lighting hole cut for the elevator push rod to pass through. I did this with the Dremel® Tool. | 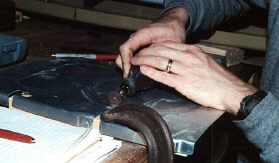 |
 |
After having to wait for warmer weather to prime the bulkhead parts, a day above 55°F finally came. I ran out to the garage, scuffed, washed, degreased, and primed everything in sight. In this picture, I'm riveting the reinforcing angle onto the F628 vertical rib. |
| Here is a representative picture of riveting the bulkheads. This is the F605, baggage, Bulkhead onto which the rear wing spar will attach. The masking tape keeps me from putting rivets in the holes that will be used to rivet the floor ribs on later. The bulkhead in the background is just leaning against the bookcase. It's not part of the riveting process in the picture. | 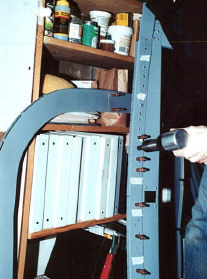 |
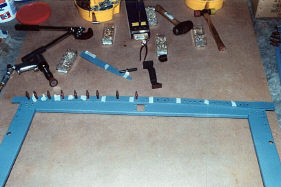 |
Here is the baggage bulkhead again with part of the sides shown. The hardboard makes a good flat surface on the level basement floor. The pencil lines (not visible in the picture) that were drawn to line the parts up for drilling help keep it lined up for riveting as well. |